

This post is sponsored by Handy Products. All opinions are my own.
Do you have a functional mudroom or drop zone in your home? Or do coats, hats, purses, and/or scarves somehow end up in a jumbled mess on a bench or even the floor near the entrance of your home?
After our home renovation, which included converting our front porch into a mudroom (you can read about that here), I realized that we really needed some hooks on our mudroom wall for daily use. The coat closet was too big and tall for the twins to reach, so when they came home from school, everything would just end up on the floor, couch, or bench. Really any horizontal surface was game.
I also realized that when we came in from a rainy/snowy day, our wet clothing needed a place to hang dry. We were using door handles as coat hangers in the meantime and it really wasn’t a practical long-term solution.
Here’s what I ended up doing:
- Painted a color block on the wall
- Added some hooks
- Hung a mirror
Thanks to a few simple items from Handy Products, the whole process was so quick it only took a few hours! Let me show you how I gave our mudroom an easy makeover to create more functionality without compromising beauty, on an otherwise plain and useless wall!
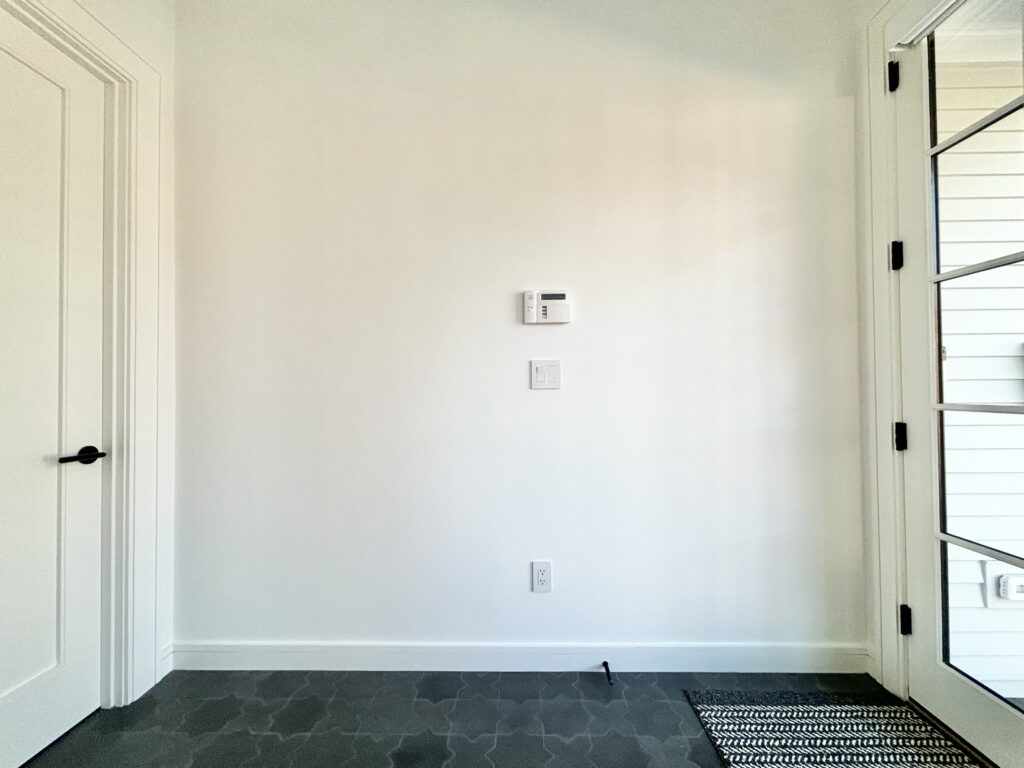
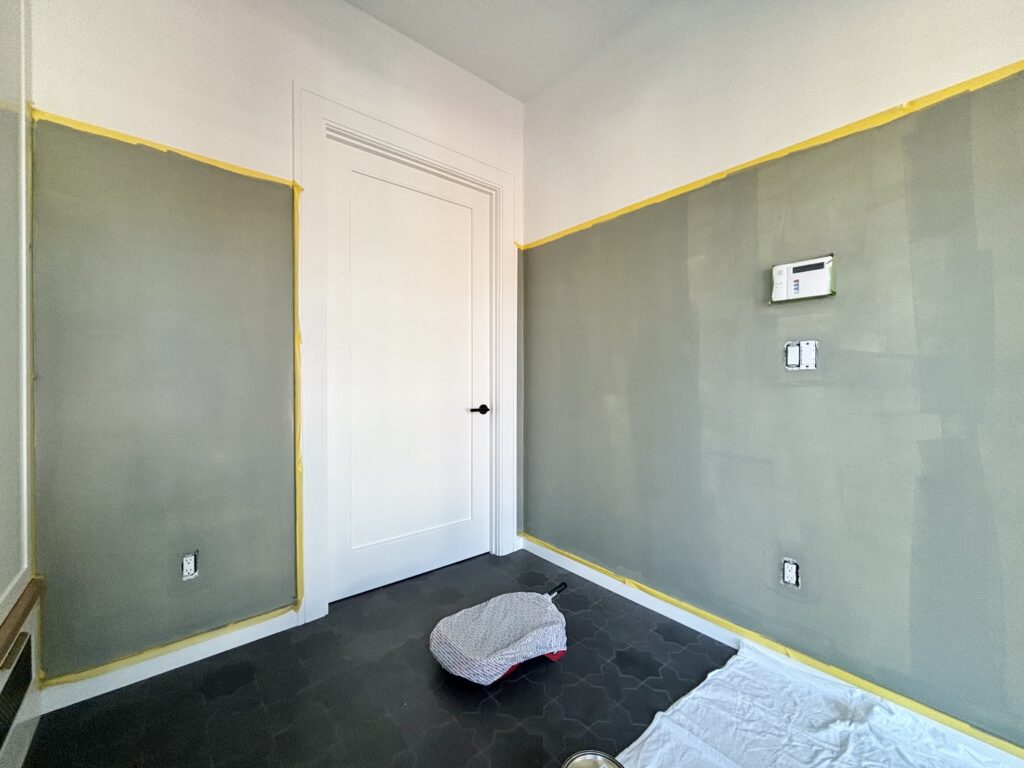
Before:
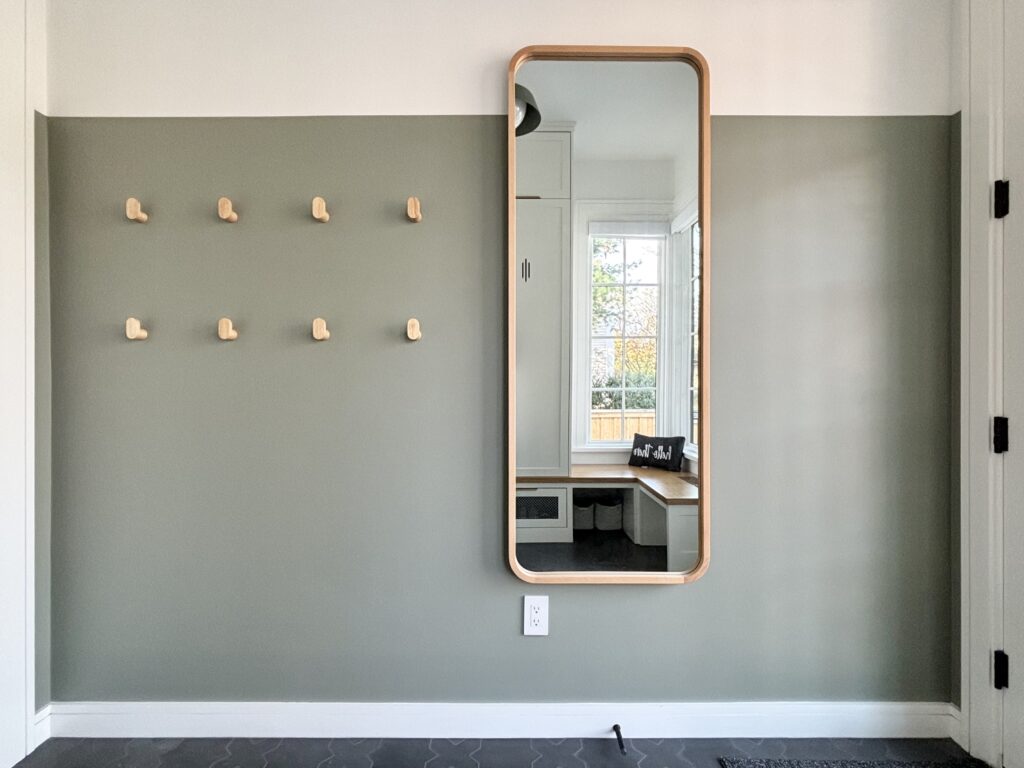
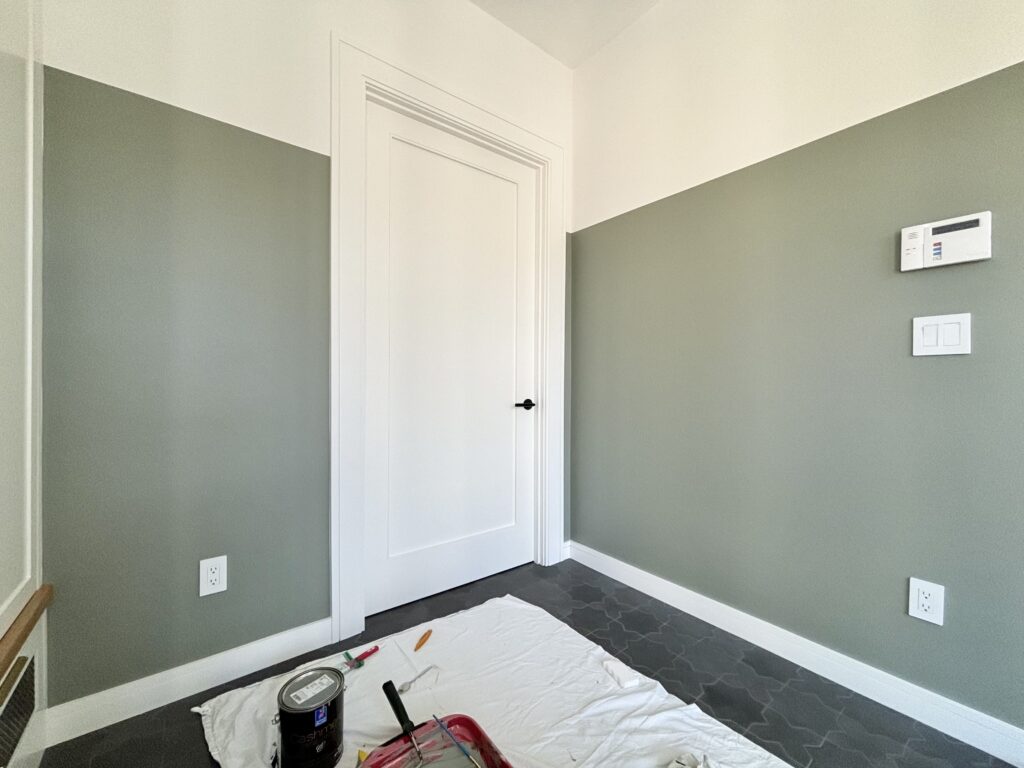
After:
Disclaimer: This post contains affiliate links. If you purchase something from a link I provided, I may receive a small commission at no extra cost to you. Thank you for supporting my creative endeavors!
| TOOLS | MATERIALS |
| Measuring Tape Stud-Finder Level Laser Level Drill Impact Driver Drill Bits Painter’s Tape Paint Brush Paint Roller Paint Roller Frame Handy Paint Tray Handy Paint Tray Liners Handy Paint Covers | 3″ Star Drive Screws Mirror Metal Wire Paint Sticks Wall Hooks LUMBER: 1×2 PAINT: Sherwin Williams Evergreen Fog |
Step 1: Prep the wall and choose a paint color.
TAPE OFF WALL:
To decide how high up to paint the wall, I used our front door as a frame of reference. Our front door has window grids in it, so I wanted the color block to line up with one of those grids. This would make the room feel taller and provide a visually appealing transition between the wall color and the front door.
Once that was decided, I lined up my laser level to the grid on the door, and used painter’s tape to tape off the entire wall and baseboard.
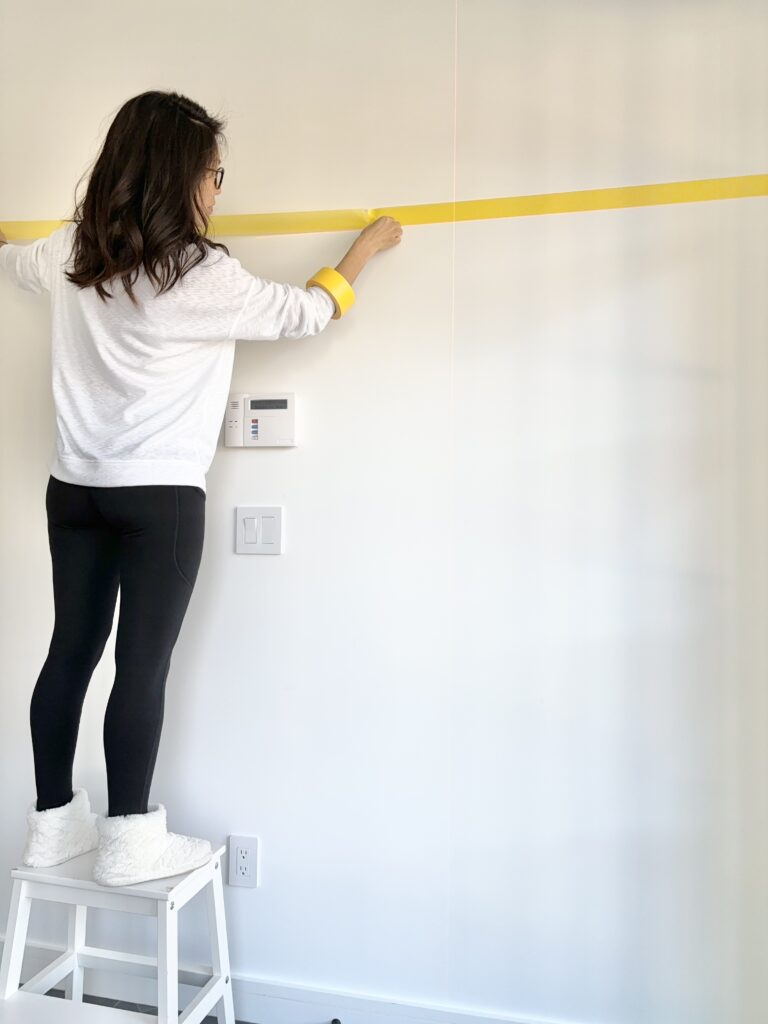
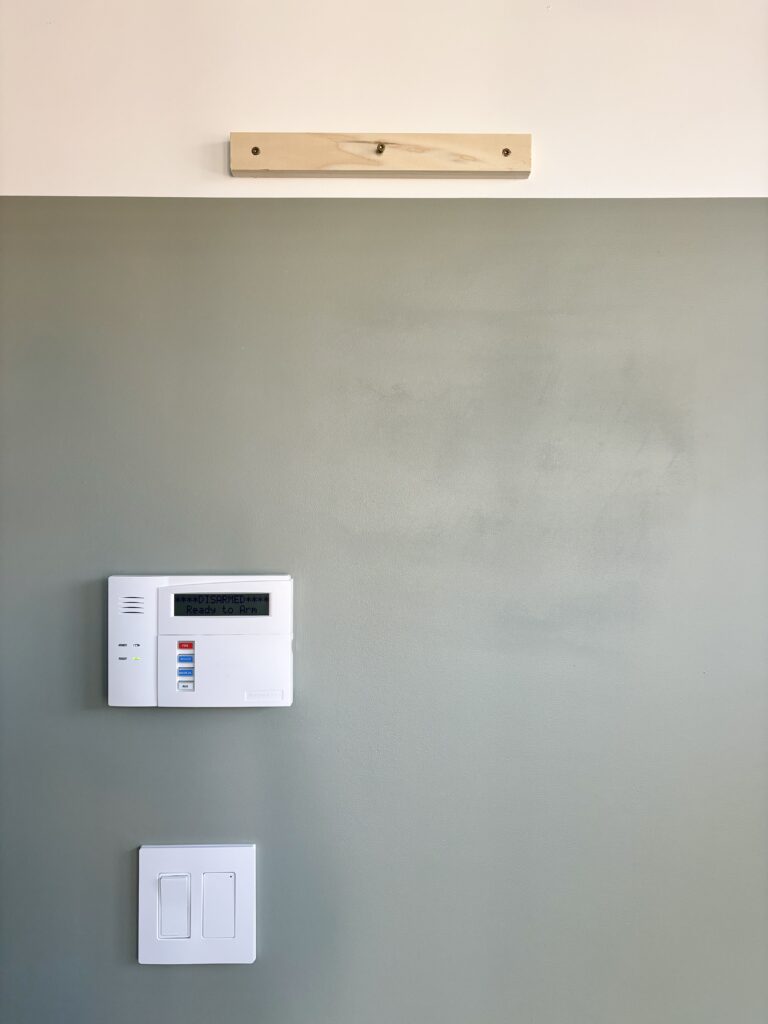
I also taped the alarm system and removed the outlet and switch covers.

CHOOSE PAINT COLOR AND SHEEN:
Deciding which color to paint is usually a painful process for me, mostly because of decision paralysis. I initially thought I wanted to go with a light taupe or subtle greige color, but when I went to get paint samples, the creaminess just didn’t feel right.
Then I remembered that we have this sage green light fixture in the mudroom, so I pulled out my paint chips to match the green. I thought a pop of actual color on the wall might look nice, since the mudroom is mostly black and white with a wooden bench.
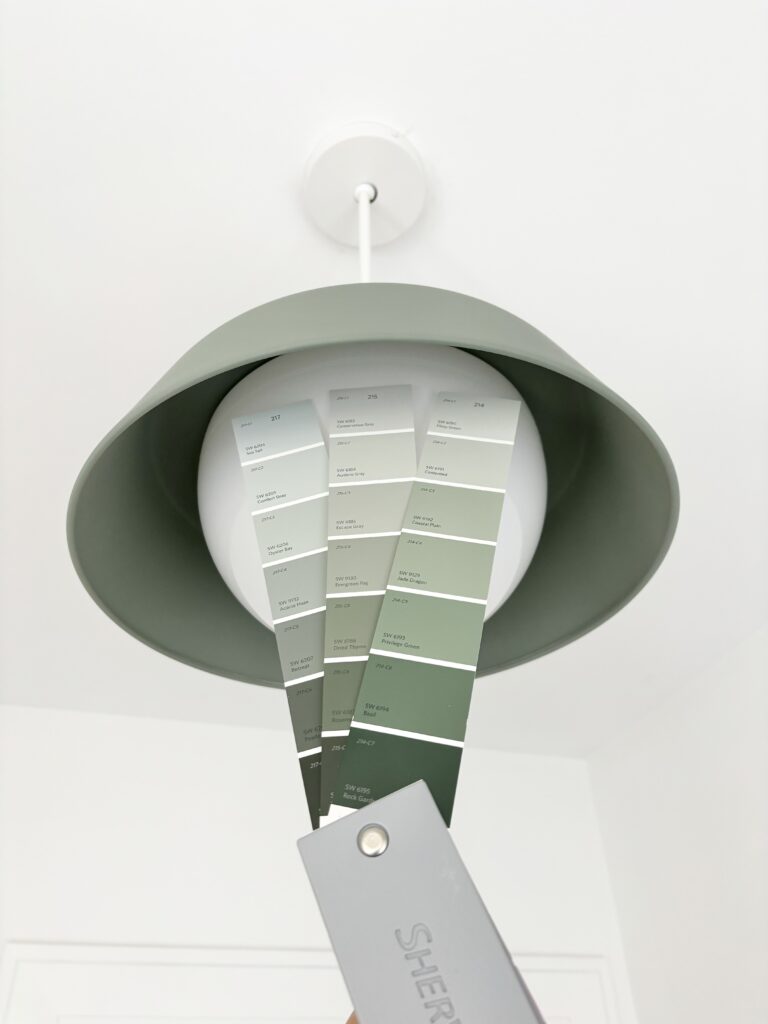
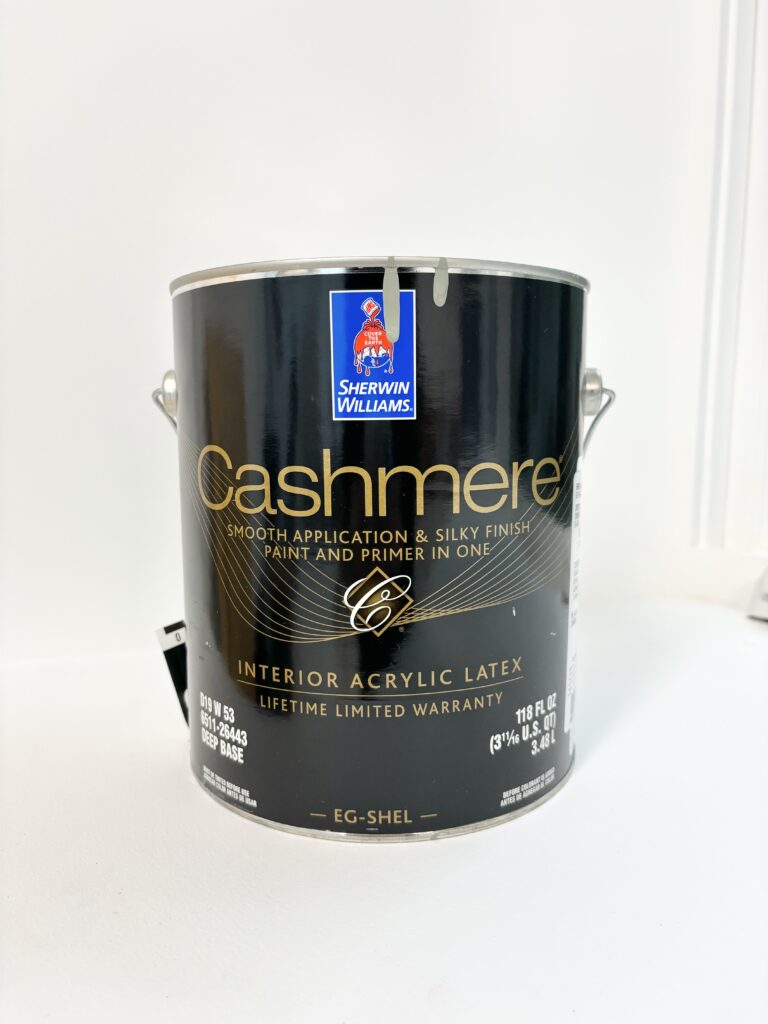
I tried to see if there was a color other than my tried and true Sherwin Williams Evergreen Fog that would match this fixture, but whaddaya know? I’m just meant to have Evergreen Fog everywhere I go haha! I promptly went to get a gallon of it since I know I’ll probably use more of it somewhere else in the house.
Pro Tip:
I used an eggshell sheen for this area because although I love a matte look, the mudroom gets a ton of traffic so I wanted the walls to be easily wipeable and less prone to stains. An eggshell sheen provides wipe-ability with the low luster look I was going for.
Step 2: Paint the wall.
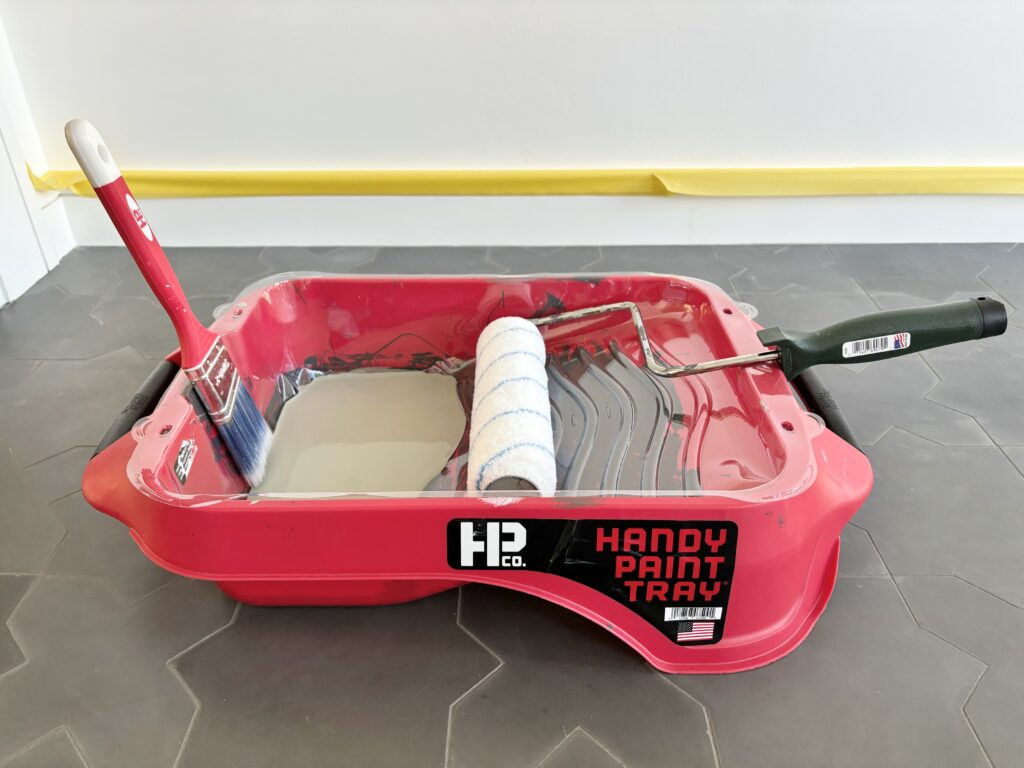
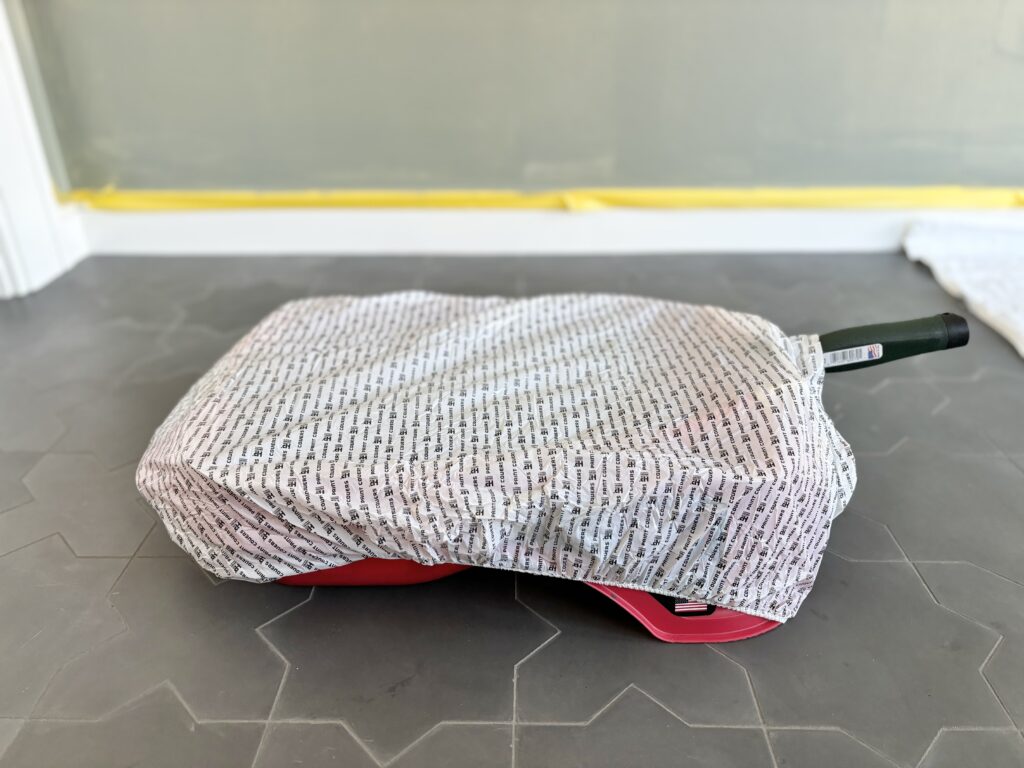
Painting the wall with my Handy Paint Tray and disposable liner made painting and cleanup so quick and easy. I’ve been using my Handy Paint Tray for years, even before they had all the other products available, including the disposable liners. (Peep the dark paint underneath!)
A few of my favorite features of the Handy Paint Tray are:
- The 2 sturdy handles on either end of the tray for portability
- The magnet for your paintbrush so it doesn’t fall into your paint
- The ledge to hook your paint roller so it sits above the pool of paint
- The disposable liner for easy cleanup
- The paint cover to keep paint fresh between coats
All of these details were so well thought-out and contributed to a hassle-free painting experience!
To paint the wall, I started with one coat of paint and ended up with 2-3 coats.
Pro Tip:
To decrease the number of coats of darker paint, use a tinted primer first, or purchase a line of paint with better coverage to begin with.
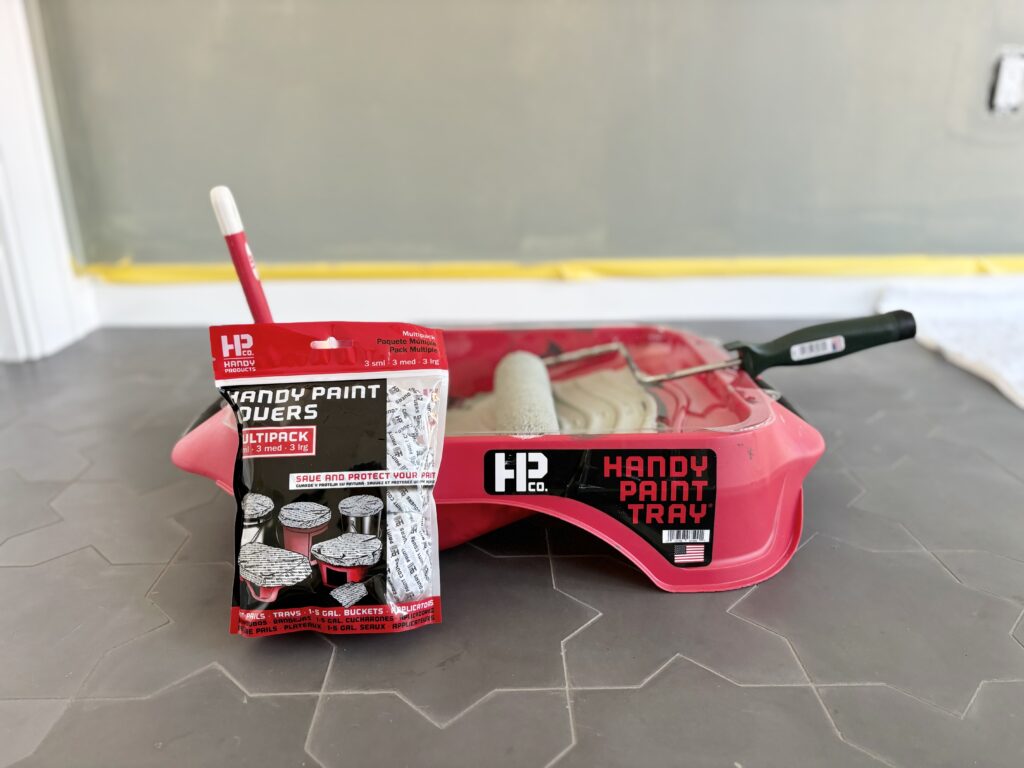
Once I was finished with the first coat, I slipped on a Handy Paint Cover to keep my paint, paintbrush, and paint roller fresh in between coats!
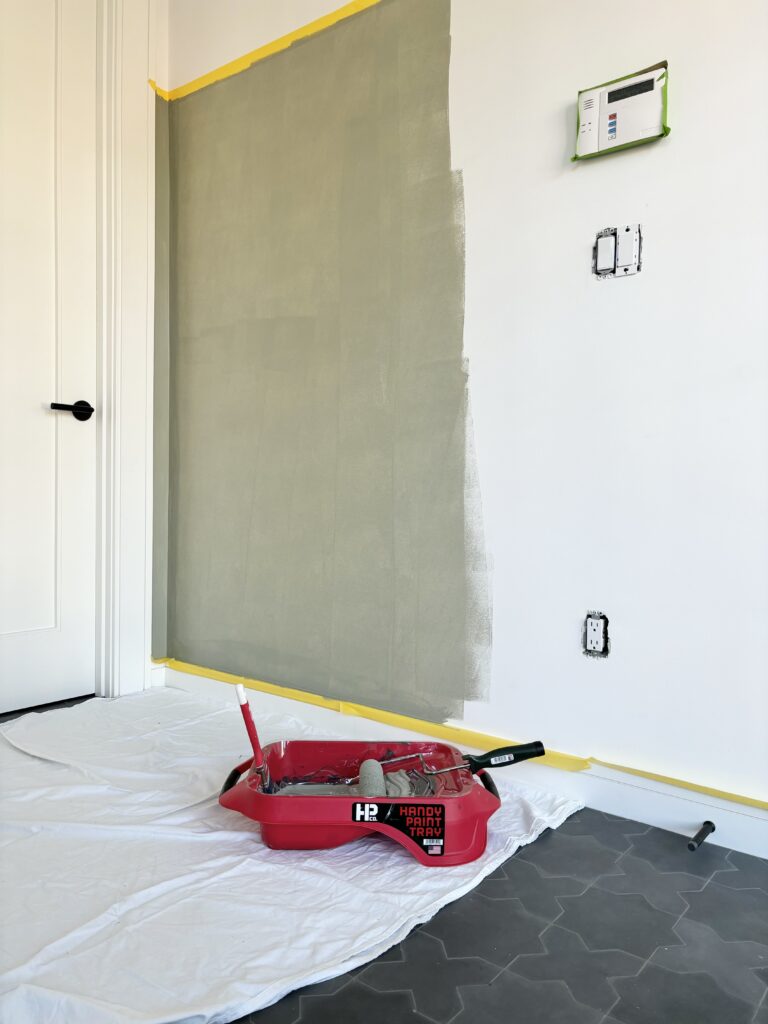
This is what the mudroom looked like after the first coat, very blotchy. I always have to remind myself not to freak out and that it gets worse before it gets better, especially when using darker paint colors!
After 2-3 coats of paint, removing the painter’s tape, and replacing outlet and switch covers, this is what the color block looked like and I couldn’t be more pleased with the result!
Step 3: Add a mirror and hooks.
MIRROR:
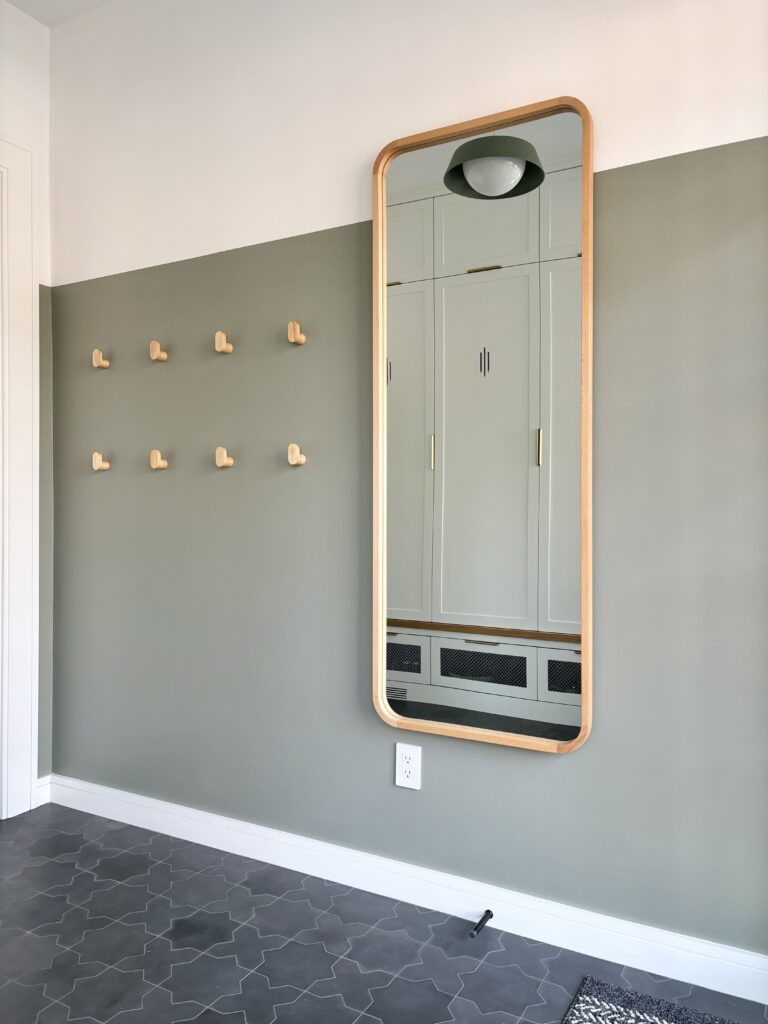
To warm up the space in the mudroom, I knew I wanted to add more wood tones. I found this wood frame mirror and purposely hung it over the alarm system and light switches, since we can access most things with our phone now.
First, I added metal wire to the back of the mirror for easy hanging.
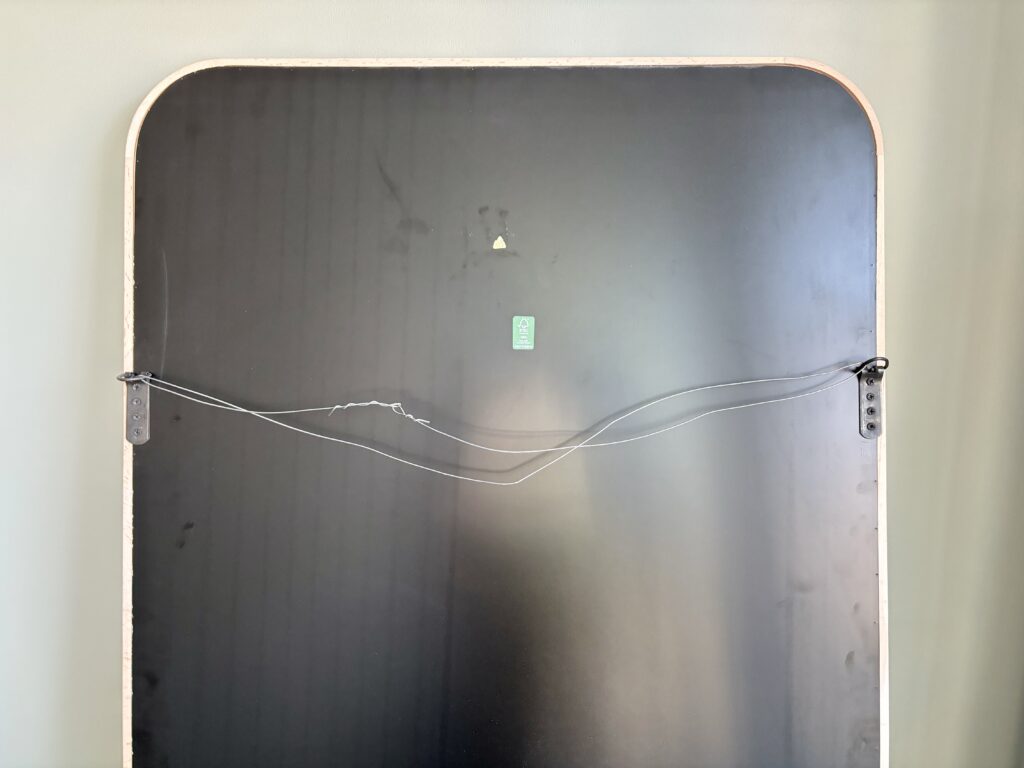
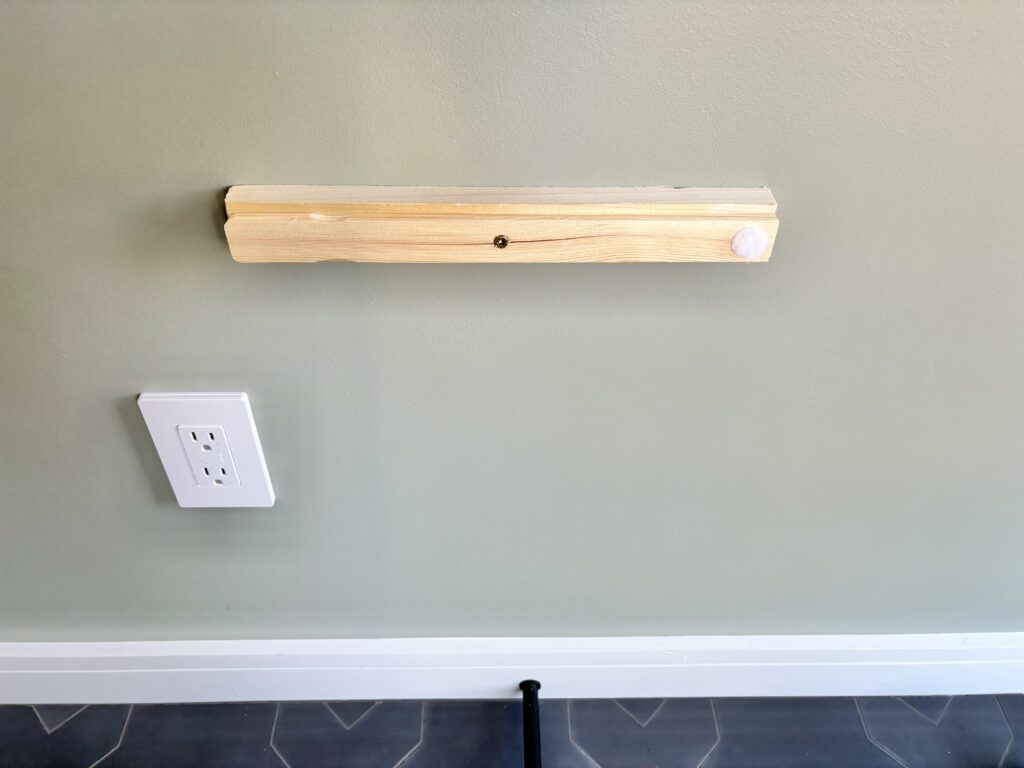
Then, I added one piece of 1×2 scrap wood to act as a spacer, since our alarm system sticks out from the wall about one inch. I countersunk the left and right 3″ screws (drove them all the way into the wood), and left the center screw protruding about half an inch. Then I hung the mirror from that protruding center screw.
Near the bottom of the mirror, I added another 1×2 and 2 paint sticks so the mirror would have something to press against instead of dangling midair. I also added a velcro sticker to the spacer and the back of the mirror so the mirror itself would not swing.
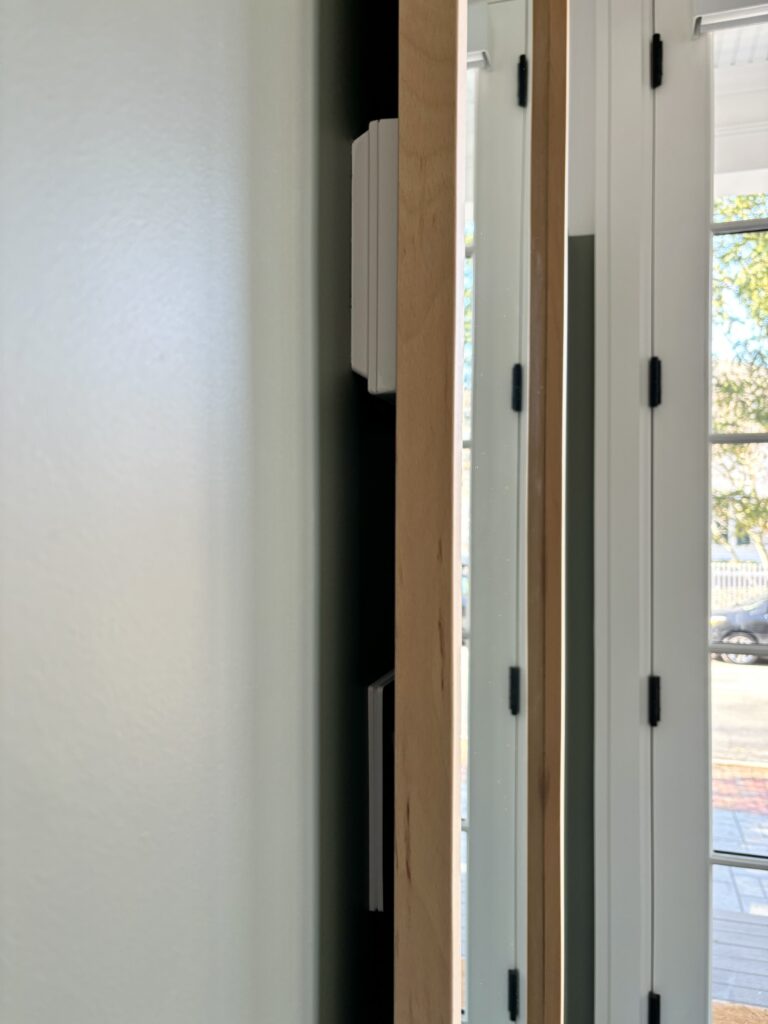
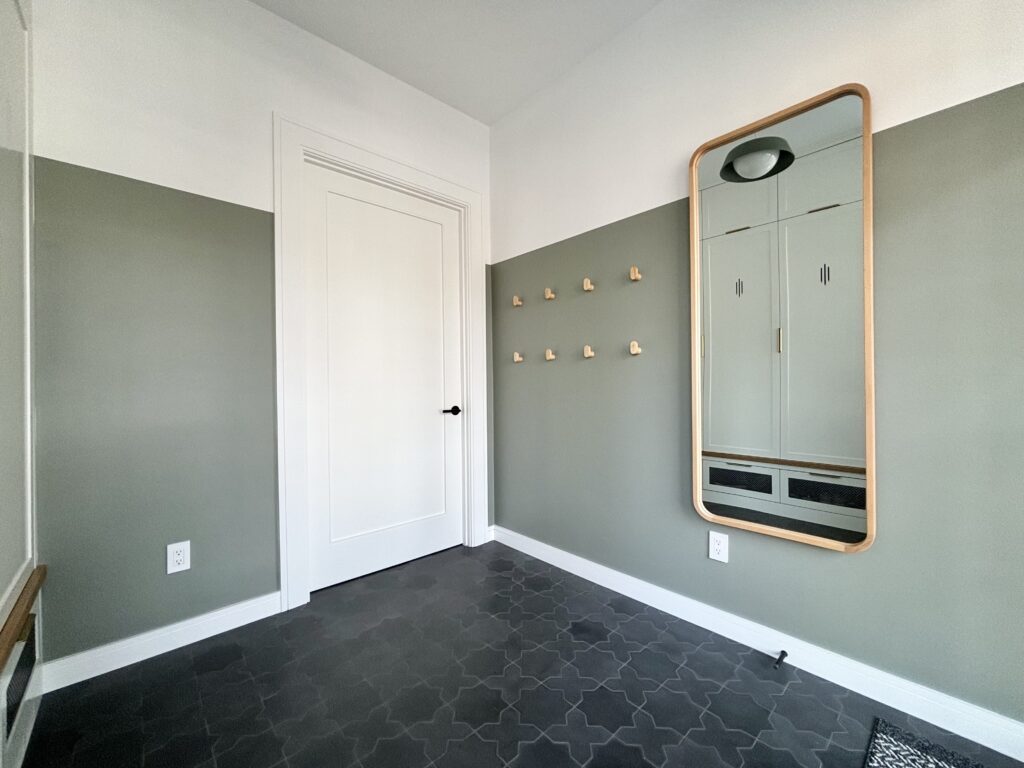
Below is a view from the left side of the mirror. Whenever we need to turn on the mudroom light, which is only a couple times a week, we slide our fingers behind the mirror and access the switch about 1-2 inches in. (We never need to touch the other switch since that one is connected to our automated porch light.)
You can also see below where the green paint lines up with the grid on the front door. This little detail makes a difference in the look and feel of the space!
I really feel like the addition of this mirror was so perfect for our mudroom! From a design standpoint, it breaks up the continuity of the green wall with the reflection of the white cabinets, and the wood frame brings warmth and balance to the entire space.

From a practical standpoint, we all use the mirror to do a quick ‘fit glance before rushing out the door every day, like so. 😉

HOOKS:
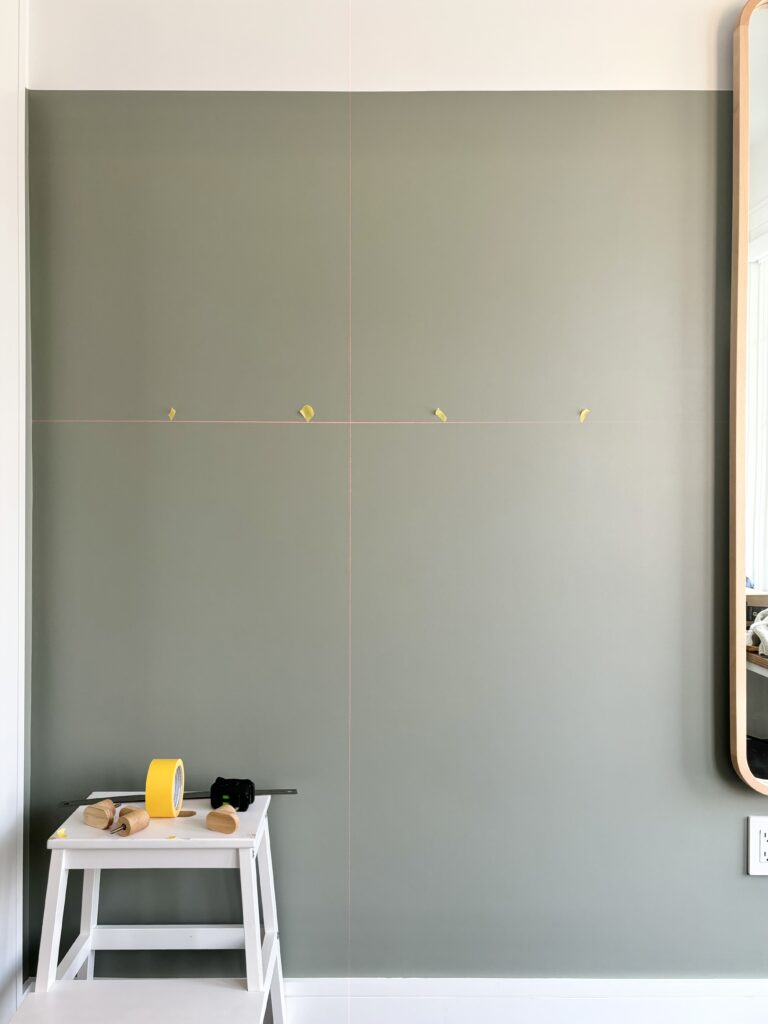
Once the mirror was hung, I decided how many hooks I wanted and at what height. I had my daughter reach up with her arms to see where she would be able to reach the lowest row of hooks. The second row of hooks was calculated as the midpoint between the bottom row of hooks and where the green paint ends.
To add the hooks, I drilled holes with a 3/16″ drill bit. Because this used to be the actual exterior wall of the house, there was a full panel of wood behind the drywall so I didn’t need to use any drywall screws. Woohoo!
Pro Tip:
I first used a tiny drill bit to drill each hole in its precise location. Then, I went back and used the larger 3/16″ drill bit to make each hole big enough for the hooks.
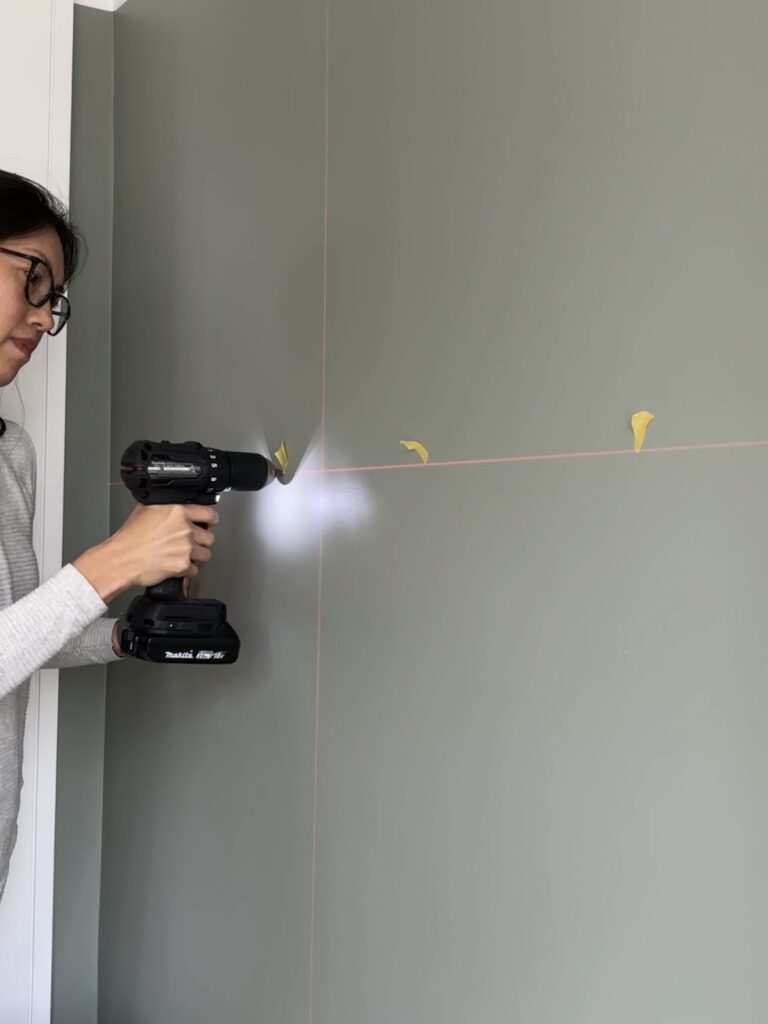
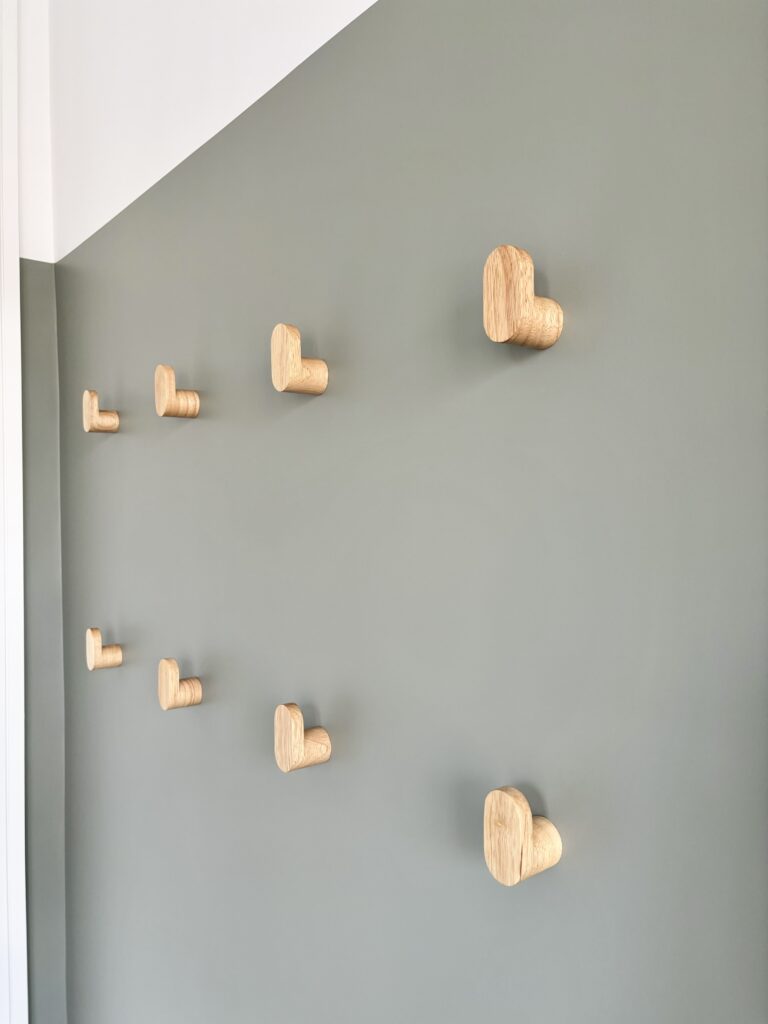
Once all the holes were drilled, all I needed to do was screw in the hooks and make sure they faced up.
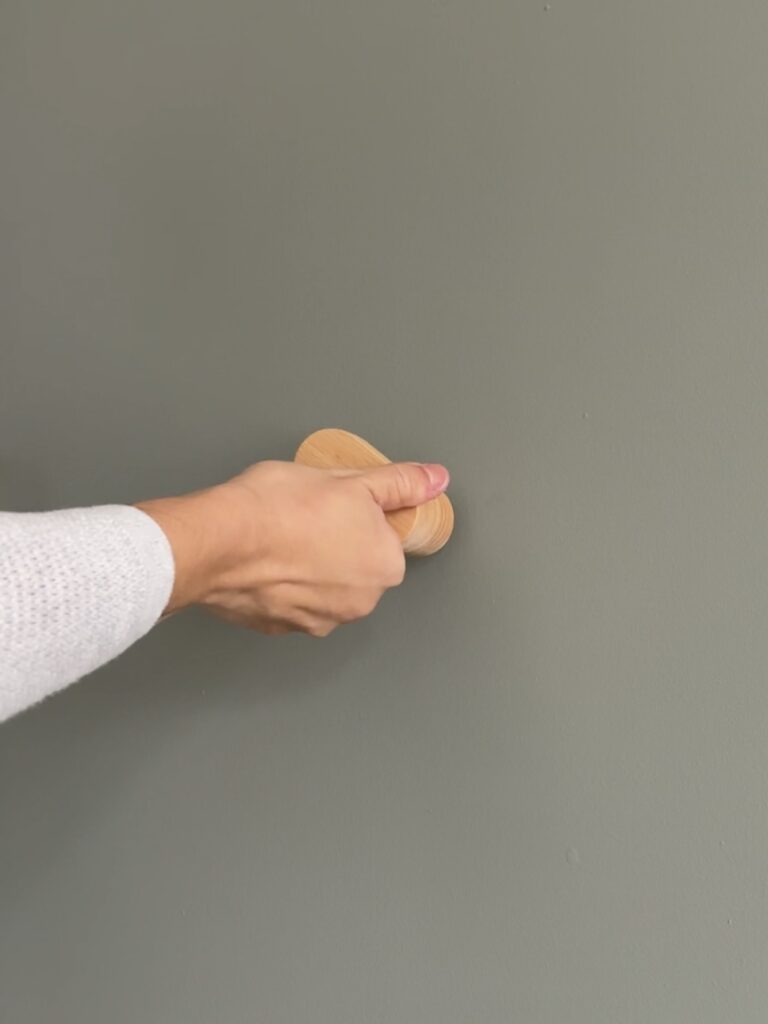
A few minutes later, all 8 hooks were installed. It honestly took way longer planning the exact location of each hook than to install them all.
What do you think?
Isn’t this mudroom makeover so much better than a plain white wall? Even if I just added the mirror and hooks, it would be functional, but would look very drab. If you’re ever wondering how to easily make a big statement on any wall, try painting it first with the help of some Handy Products, and you’d be surprised at the difference a coat of paint can make!
previous Post
next Post

Lifestyle
Pondering thoughts, personal life experiences, things I love, mental health, marriage life, and everything in between.
browse

Motherhood
Everything from my birth story to postpartum anxiety and depression, from c-section recovery to mom guilt and judgment. Prepare for raw and emotional posts!
browse

Books + Podcasts
Gleanings from books I've read and podcasts I've been impressed with, with the occasional children's book recommendations!
browse

DIY Projects
DIY project tutorials from six years of projects in my home! Very much a work in progress, migrating tutorials from my Instagram page to my blog!
browse
Join the hearteyes fam!
Be the first to know about new blogposts, insightful reads, favorite things & more
in just a couple emails per month. Let's set those expectations low HAHA!


+ Show / Hide Comments
Share to: